 |
| ^^^ The short end is going down and under the long end which is going up and is on top. |
 |
| ^^^ Continue the long end down and behind so that it sits in the gap next to the short end. |
 |
| ^^^ Bring the long end up again and over the top so that it finishes all the way to the left. |
My last tutorial on making felt bows has always been one of my more popular posts. They are a very structured formal bow and once you get the cutting down pat, the rest is easy.
Boutique bows are another really popular style for little girls at the moment. They look so lovely and classic. Usually they are made with grosgrain ribbon but with my obsession for pattern clashing and Liberty fabrics I decided to take boutique bows to the next level.
These are so easy to make. You can make one in 30 seconds. This really appeals to me because I have no idea WHERE all bows and clips go. Wherever all the lonely socks go, I guess.
For this project you will need:
- Liberty fabric bias tape or bias binding. I bought mine from The Weavers Mill via Etsy. You need about 40cm of binding for make a 5cm wide bow.
- Alligator clips. I used 4.5cm ones bought on Ebay. Only a couple of dollars for 50 clips!
- A needle and thread.
The first few steps are the most important. Once you get them, it is like riding a bike.
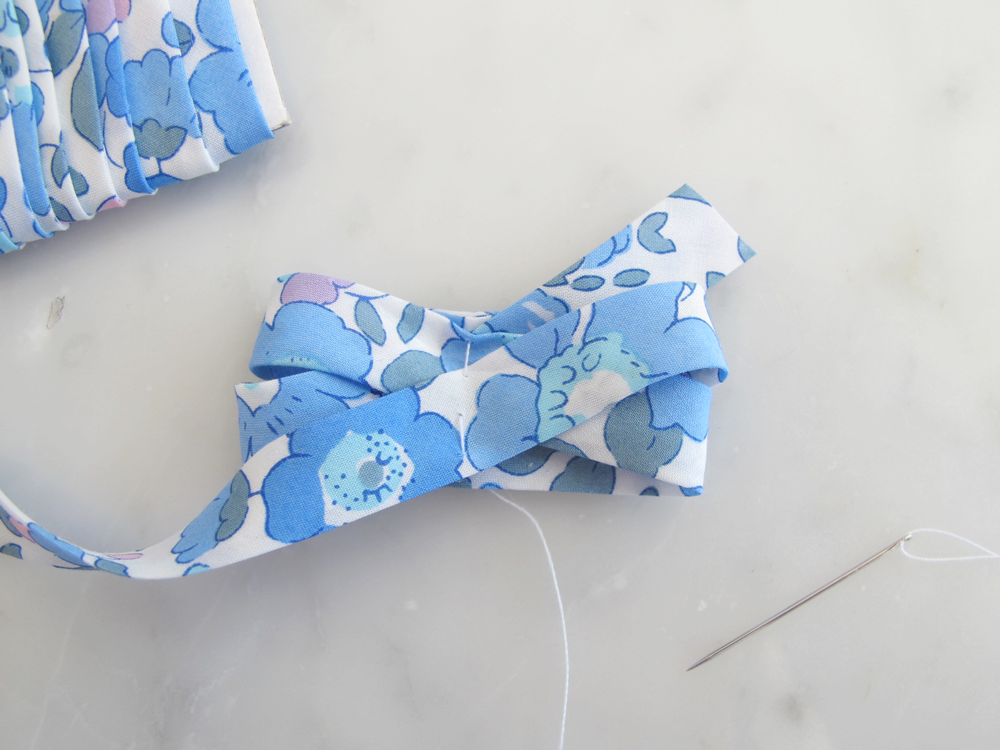
1. Hold the tape so that the two ends are crossing over. There is a short end and a long end. The short end is going down and under the long end which is going up and is on top.
2. Continue the long end down and behind so that it sits in the gap next to the short end.
3. Bring the long end up again and over the top so that it finishes all the way to the left.
4. Put a pin through all the layers and trim the tails. You can see I kept the short end pretty short as I hate to waste Liberty fabric!
5. Stitch two long running stitches across and through all layers just to keep them together.
6. Twist the same thread around a few times tightly to get your bow shape. You might want to arrange the loops and tails as you go if they get ideas about going in funny directions.
7. Go back to your tape supply and tie a gentle knot right near the end. Cut it off leaving enough either side of the knot to wrap it around the middle of the bow with a good overlap.
8. Wrap the knot around the middle of the bow and stitch together making sure you are not stitching it to the bow. You only want to stitch the ends of the knot piece together. If you stitch it to the bow as well, you'll have trouble getting your clip through.
9. Because you have cut edges on your bow you need to secure the threads so they do not fray. I just used a pin and spot of fabric glue that I ran along each selvage. It dries clear so you cannot see it.
10. Now you can just slot your alligator clip through and wear!
Remember that hair clips with small parts are not generally recommended for children under three years of age.


No comments
Post a Comment